Many people with hip, knee or lower back pain have strong-looking legs but glutes that barely switch on. When the glutes don’t fire properly, other muscles such as the lower back, hamstrings and hip flexors take over, and that’s often where the pain starts.
Glute activation is Stage 2 of my 3-stage glute and hip rehabilitation guide. The aim isn’t to exhaust the muscle; it’s to teach your brain to switch on the small stabilisers around your hips and pelvis so the bigger muscles can work safely.
What Does “Activation” Actually Mean?
The muscles closest to the joint, the stabilisers, are built for endurance rather than power. They contract at a low level to keep the joint in a good position while you move. Activation exercises are slow, controlled and low-intensity. If you’re shaking and straining, you’ve turned them into strength exercises and the stabilisers will hand the job back to the bigger muscles.
Almost all of these start from a stable spine and a gently engaged core. If you’re not sure how to do that, read how to activate your deep core first.
4 Glute Activation Exercises
1. Bent Knee Fall Out
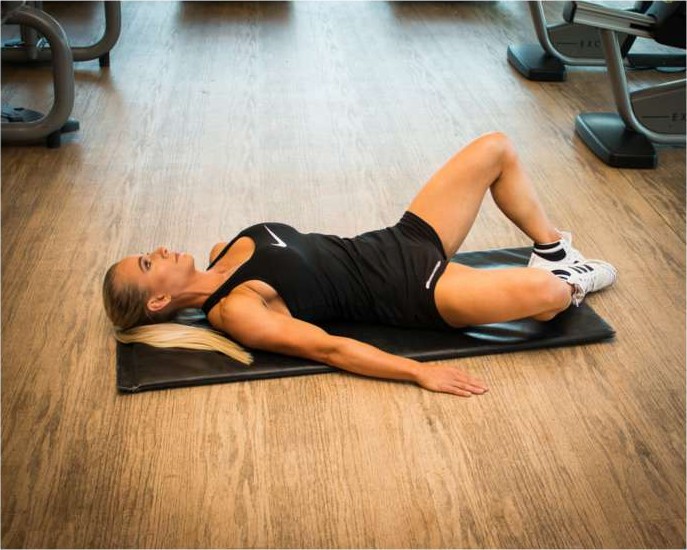
Lie on your back with knees bent and hands resting on your hips. Slowly lower one knee out to the side, keeping the other knee still and both hips connected to the mat. The skill is keeping your pelvis completely level while the leg moves.
2. Hip Tilts in Bridge Position
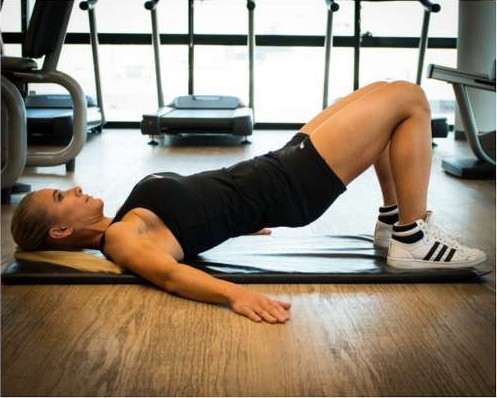
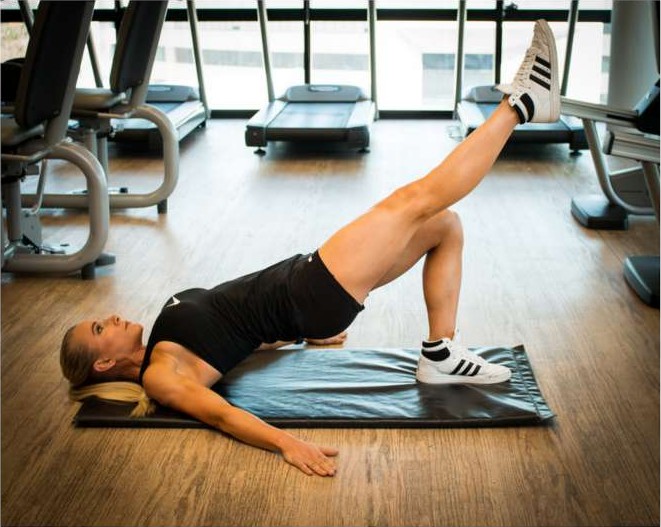
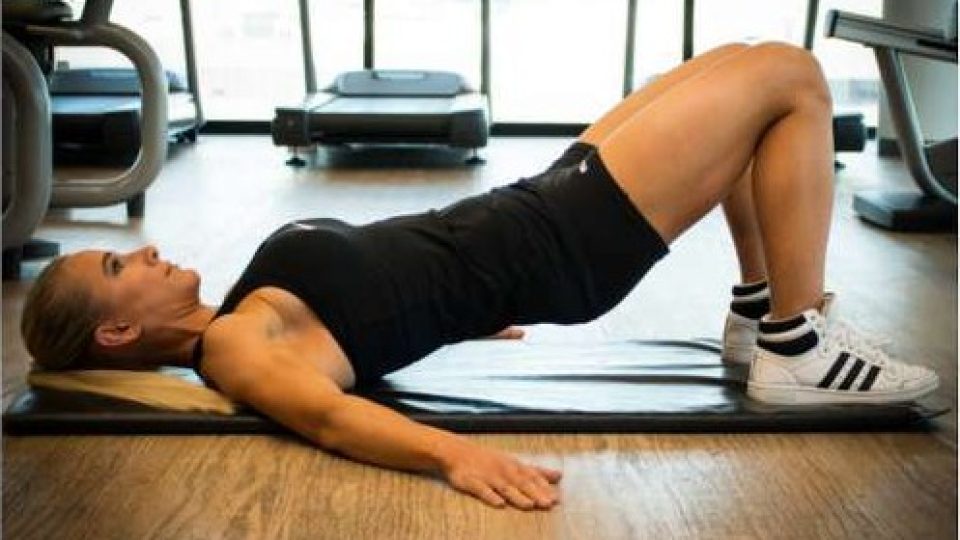
Lift into a bridge so your knees, hips and shoulders are in one line, with your hands on your hips. Without losing height, slowly let one hip drop a little and then lift it back level using the glute on the other side. Alternate sides, moving slowly.
3. Hip Hikes
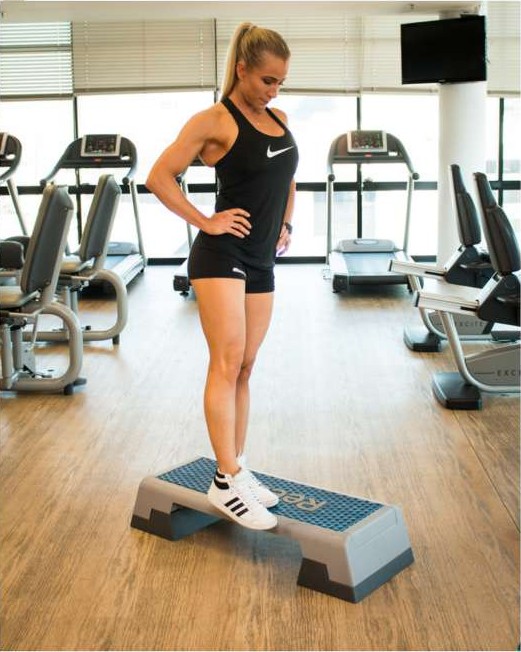
Stand sideways on a step with one leg hanging off the edge and the standing knee slightly bent. Let the hanging leg drop towards the floor without twisting, then use the glute of the standing leg to lift your pelvis back to level. Don’t lock the standing knee.
4. Stalk Stand
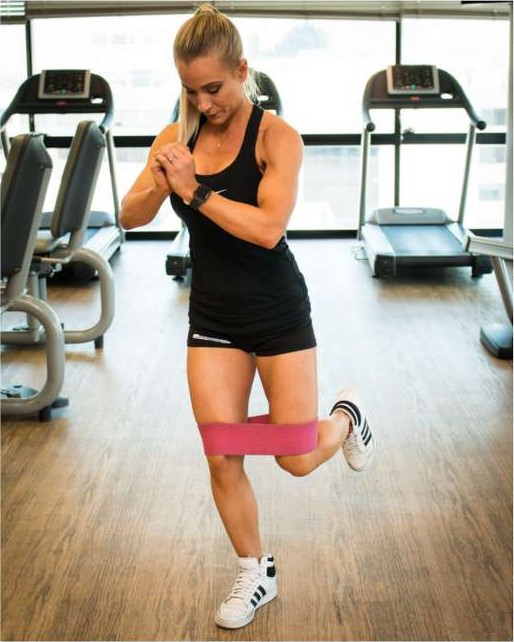
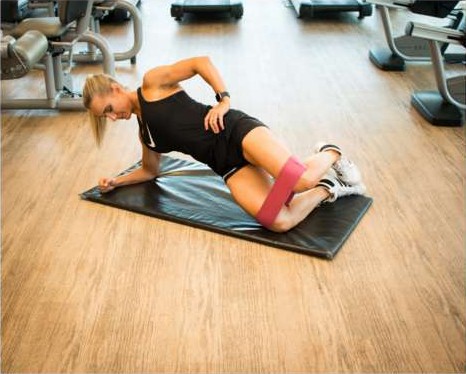
Stand on one leg with a band just above your knees and your standing knee soft. Keep your pelvis level and your knee in line with your toes as you hold your balance. It looks simple, but it quickly shows which side’s glutes are working harder.
When Should You Do Glute Activation?
Activation works well before your strengthening exercises or before a run, gym session or sport, as a way to “switch on” your hips first. You can also use it on its own on lighter days. How many reps, how long to hold, and how to progress each exercise depends on your level, so the full guide rates every exercise from beginner to advanced and builds them into workout plans.
Next: Build Strength
Once your glutes switch on reliably, it’s time to make them stronger. Start with these gluteus medius exercises at home, or find out whether you have weak glutes, and how to tell. If your hips feel tight, loosen up first with hip flexor and glute stretches.
Get the full programme: the Glute, Hip & SI Joint Rehab guide takes you from stretching and activation through to strength, with photos, difficulty ratings and beginner, intermediate and advanced workouts.
Disclaimer
Please make sure you get a correct diagnosis from a health professional before starting any of these exercises if you are currently carrying an injury, and stay under their advice throughout your rehab.