When your hip hurts, it’s tempting to either stop moving altogether or push through your usual workouts. Neither usually helps. The goal is to keep moving in a way that doesn’t irritate the hip, while you build up the muscles that support it.
Below are the types of exercises that most often aggravate sore hips, why they can cause trouble, and what I have clients do instead. The alternatives come from my 3-stage glute and hip rehabilitation guide.
First: What Is “Painful” vs “Normal”?
Mild muscle fatigue or a working burn in the glutes is normal. Sharp, pinching, catching or deep aching pain in the hip joint or groin is not. Use that as your guide for every exercise. Also, pain that wakes you at night, follows a fall, or comes with swelling, locking or giving way should be checked by a health professional.
Exercises That Commonly Aggravate Hip Pain
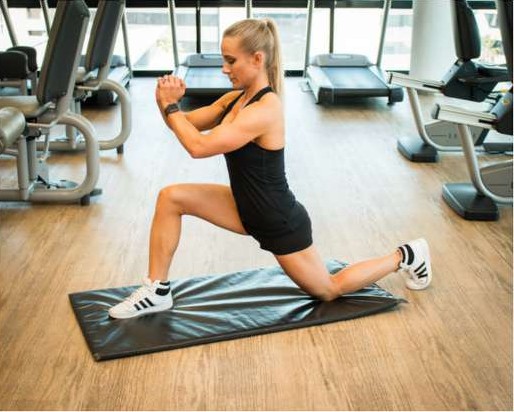
1. Deep squats and lunges into a pinch
Going very deep, especially with a narrow stance, can pinch the front of the hip. Instead: squat only to a comfortable depth, or use a supported wall squat where you control the range.

2. High-impact running and jumping during a flare
Repeated impact loads an irritated hip over and over. Instead: keep your fitness with lower-impact options while you build strength, then return to impact gradually.
3. Forcing deep hip stretches
Aggressively pulling into the end of your range, particularly stretches that pinch at the front of the hip, can make things worse. Instead: use gentle stretches you can breathe into, such as these hip flexor and glute stretches.
4. Heavy one-sided loading too soon
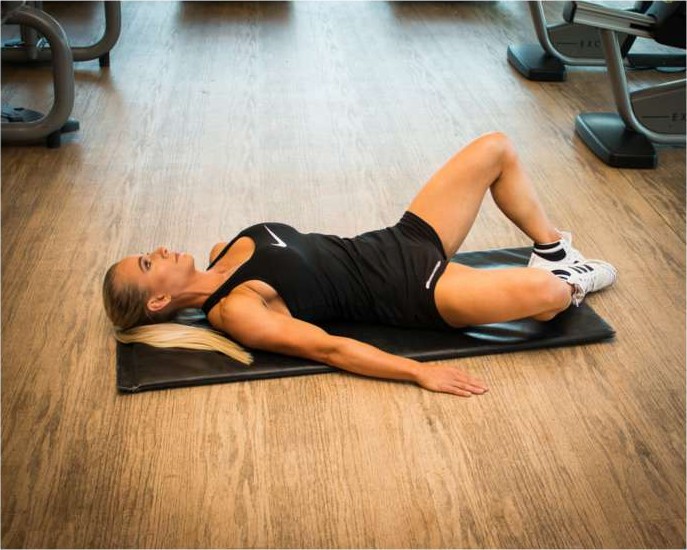
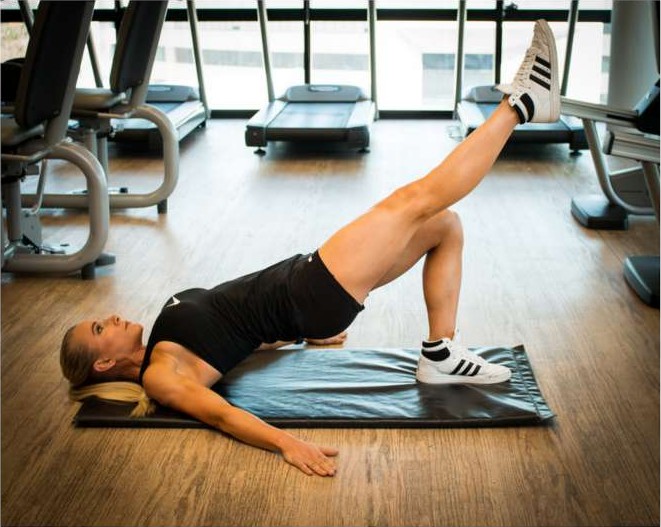
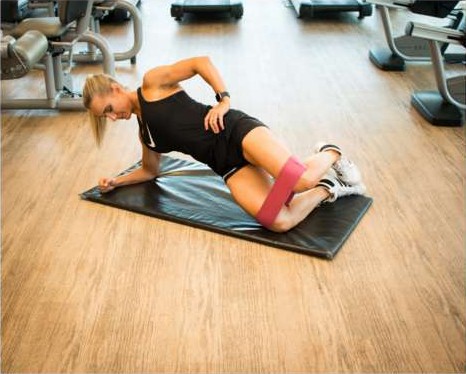
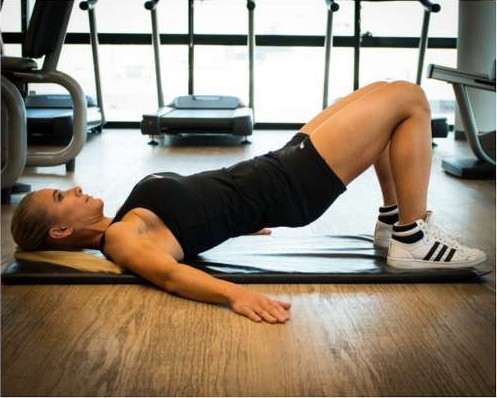
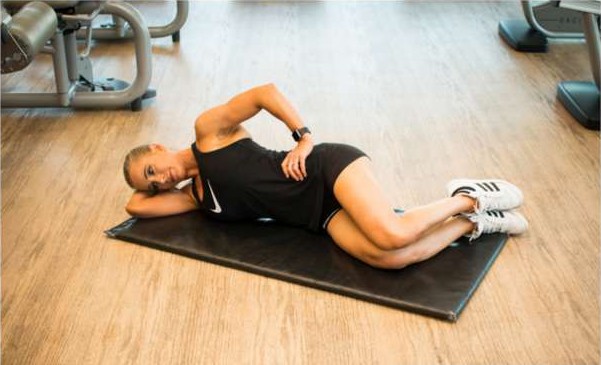
Heavy single-leg exercises, big step-ups or loaded lunges can overload a hip whose stabilising muscles aren’t ready. Instead: build a base with two-leg and controlled exercises first, like the bridge and clam.
5. Fast, uncontrolled leg swings and kicks
Swinging the leg with momentum doesn’t give the muscles time to control the joint. Instead: slow, controlled movements such as glute activation exercises, where the muscle rather than momentum does the work.
What to Focus on Instead
- Mobility within a pain-free range to ease stiffness
- Glute activation so the right muscles support the hip
- Gradual strengthening, starting with two-leg and supported exercises before single-leg work
- Consistency: short, regular sessions rather than occasional hard ones
That’s exactly the order the full programme follows: stretching and mobility, then activation, then strengthening. If your hip pain goes with lower back pain, the back rehabilitation guide follows the same 3 stages. You may also have weak glutes behind both.
Want a safe, structured plan? The Glute, Hip & SI Joint Rehab guide shows you exactly which exercises to do at each stage, with photos, difficulty ratings and beginner to advanced workouts.
Disclaimer
Please make sure you get a correct diagnosis from a health professional before starting any of these exercises if you are currently carrying an injury, and stay under their advice throughout your rehab.