

Back pain is a complex issue that often stems from mal-alignment or global muscle weakness. This guide provides a structured, three-stage approach to help you move from acute discomfort to long-term spinal health.
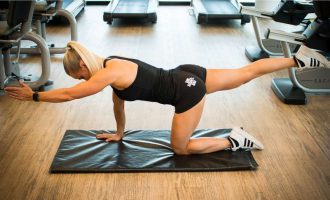
Before beginning any physical program, it is essential to understand the nature of your discomfort. Common issues addressed in this protocol include:
For a deeper look at how these common diagnoses present during movement, read our detailed post: Understanding Discogenic and Nerve Pain.
Success in rehabilitation depends on mastering your spinal position.
Neutral Spine (NS): This is the spine’s natural, anatomically standard state. It is the strongest and safest position for your body during movement.
Imprinted Spine (IS): This involves slightly flattening the lumbar spine by tucking the tailbone.
Knowing when to use each position is the key to protecting your back during exercise.
To learn the step-by-step physical cues for finding both pelvic alignments on an exercise mat, see our deep-dive tutorial: Mastering the Basics: A Deep Dive into Neutral and Imprinted Spine.
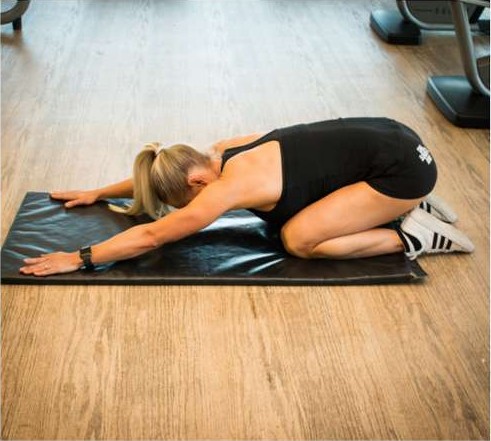
The primary goal of Stage 1 is symptom management and restoring basic movement patterns. This phase focuses on relieving pressure and ensuring the spine can move through its natural range without aggravating nerve or discogenic pain.
Start today with 6 gentle lower back stretches from Stage 1. If your pain is nerve- or disc-related, read stretching for nerve and disc pain first. Very tight? Learn how to use foam rolling for lower back pain safely first.
Rehabilitation often fails because of a poor “mind-muscle connection”. Many individuals try to strengthen a back where the deep core stabilizers are completely dormant. In Stage 2, we shift from passive mobility to active Muscle Activation:
The “Corset” Technique: When breathing, you learn to inhale deep into your rib cage. As you exhale, you imagine tightening a high-compression corset around your entire midsection.
The Core Cue: You draw your belly button tightly toward your spine without shifting your hips or squeezing your glutes.
The Objective: This “turns on” the deep local stabilizing muscles (like the transversus abdominis), wrapping your spine in protective support before any external weights or forces are introduced.
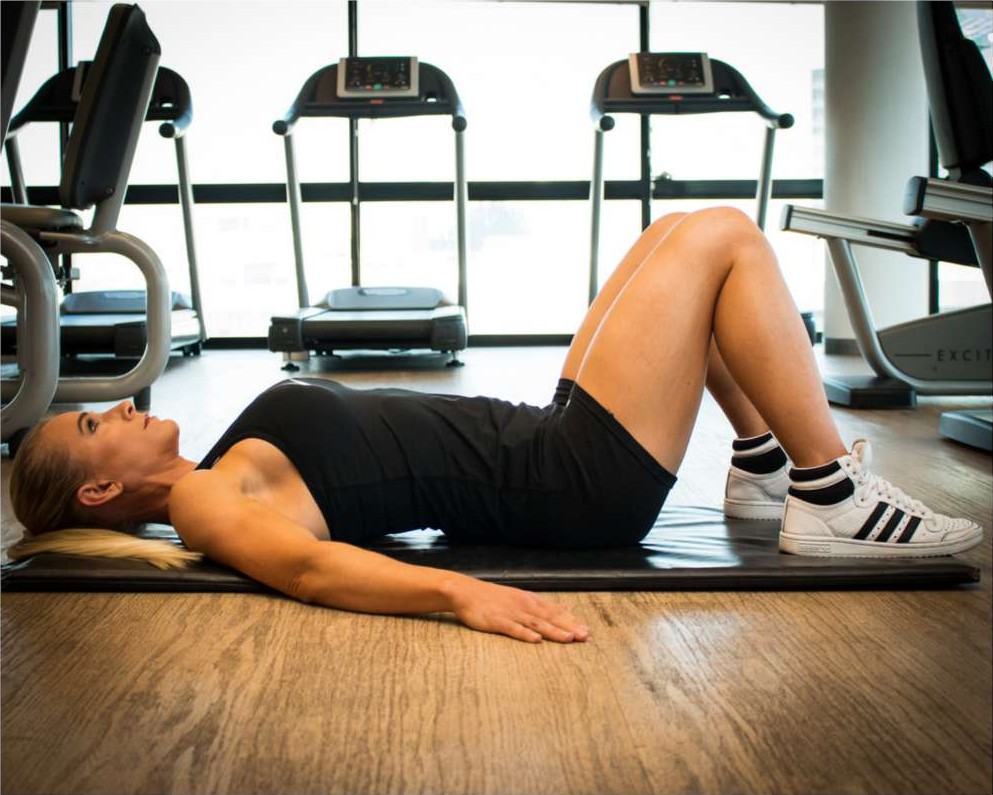
Ready to wake up your dormant core stabilizers? Check out the breakdown here: How to Activate Your Deep Core (Stage 2).
Once structural mobility is restored and local stability is actively established, the body is ready to advance to Stage 3: Strengthening. In this phase, exercises are carefully introduced to isolate and work specifically on your identified underlying “weak spots”. This global strengthening program ensures that your spine is dynamically supported during real-world, functional day-to-day activities like lifting, bending, and twisting.
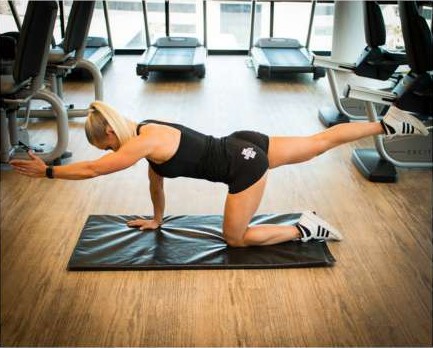
Transition from rehab to injury prevention with our final strength overview: Functional Strengthening for Back Longevity (Stage 3). Weak glutes are a common driver of lower back pain; see weak glutes: signs, a simple test and how to strengthen them in the glute and hip rehabilitation guide.
For a safe and effective recovery, please follow Sarah’s core guidelines:
The Pain Rule: At no time should you experience pain during any of these exercises. Deep muscle fatigue, core warmth, and light stretching sensations are completely normal, but sharp, pinching, or radiating pain is an absolute signal to stop immediately.
The Mandatory Warm-Up: Never perform mobility or activation exercises on cold tissues. Always execute a light cardio warm-up (walking or cycling) for 10–15 minutes, maintaining a low-to-moderate intensity of approximately 60–65% of your maximum heart rate before starting the routine.
Self-Correction & Environment: This entire rehabilitation protocol is engineered to be highly accessible—requiring minimal equipment and designed to easily be executed within small home spaces. Always utilize a mirror or take smartphone videos/photos of your form to compare your body mechanics directly against the professional imagery in the curriculum.
Before your first session, read the 7 rules to follow before you start back rehab.
Answers to the questions I get asked most by clients starting back rehab.
It depends on the cause of your pain and how consistent you are. Many people notice less stiffness within a few weeks of regular mobility work, but rebuilding deep core control and strength usually takes longer, often two to three months of steady progression. Always follow the timeline your health professional gives you.
Yes. Every exercise in the programme can be done at home with a mat, a physio ball, a resistance band, a foam roller and a small soft ball. See home back exercises with minimal equipment.
For most general lower back pain, gentle, controlled movement helps more than complete rest, as long as you follow the pain rule: no exercise should cause sharp or radiating pain. See a doctor first if you have numbness, weakness in your legs, changes in bladder or bowel control, pain after a fall or accident, or pain with a fever.
A neutral spine keeps your lower back’s natural small curve off the floor; an imprinted spine gently flattens your lower back onto the mat by drawing your belly button in. Knowing when to use each is the foundation of safe back rehab. Read the full explanation.
The programme was created by Sarah Lotter, an online fitness coach with over 17 years of experience and a BSc (Med)(Hons) in Exercise Science from UCT. The exercises come from the programmes she uses with her own rehab and training clients. If you would like a plan built around you, have a look at her online coaching.
Yes. Every exercise is rated 1 (beginner), 2 (intermediate) or 3 (advanced), and the guide includes beginner, intermediate and advanced workout plans, so you can start at your level and progress safely. New to rehab? Start with the getting started rules.
Sarah Lotter is an online fitness coach with over 17 years of experience and a BSc (Med)(Hons) in Exercise Science from the University of Cape Town. Over the years she has coached many clients with very different goals, from rehabilitation and injury recovery to athletes, bodybuilders, busy corporate clients and new moms. The exercises in this guide come from the programmes she uses with her own clients. Meet your coach or explore online coaching with Sarah.
While this guide provides a conceptual overview, true rehabilitation requires a consistent, day-by-day plan.
The Complete Back Rehabilitation Manual includes:
35 pages of detailed technical guidance.
Over 30 exercises with detailed photographic demonstrations.
A 3-level difficulty rating system to track your progress.
Full workout programs designed for small spaces and minimal equipment.
Professional Medical Disclaimer: Please ensure that prior to starting any of the exercises or protocols outlined in this guide, you obtain a correct clinical diagnosis from a qualified health professional if you are currently carrying an injury, and that you remain under the direct advisement of your health professional throughout your recovery journey.
