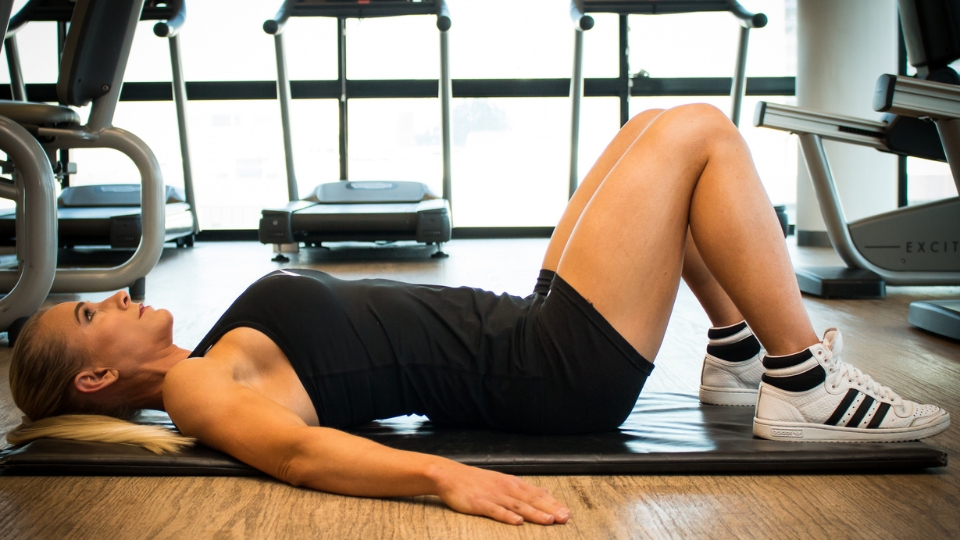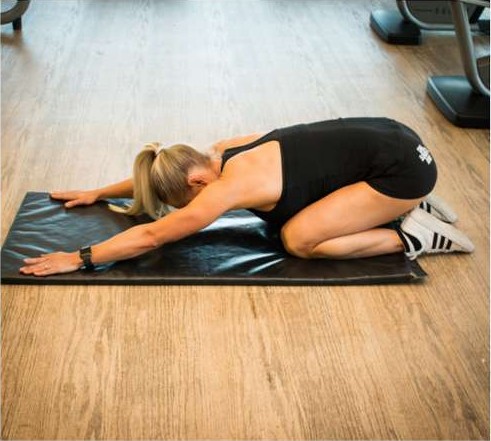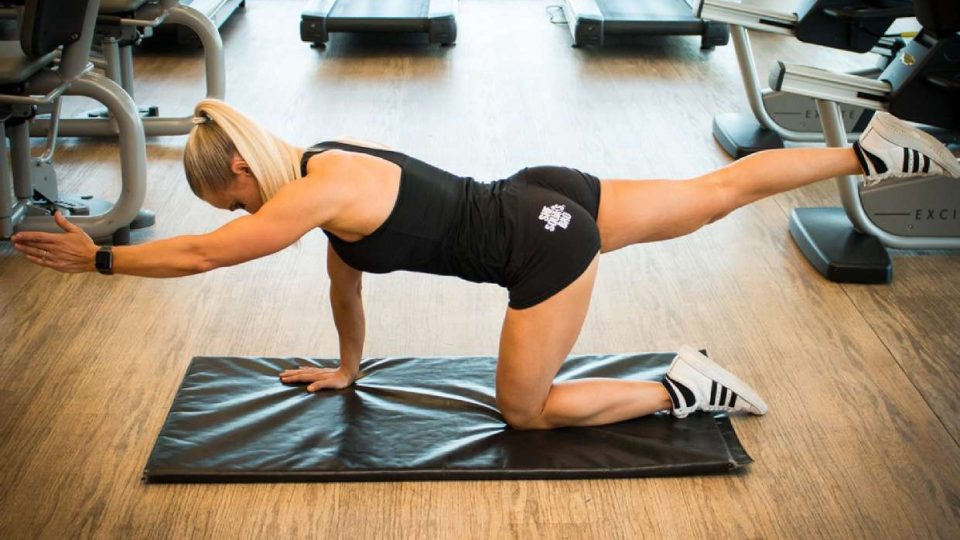
You are one step away from learning how to reduce, manage and, more importantly, help prevent back pain. Before you do a single exercise, though, the way you approach your rehab matters as much as the exercises themselves. These are the rules I give every back rehab client I coach, and they form the foundation of my 3-stage back rehabilitation guide.
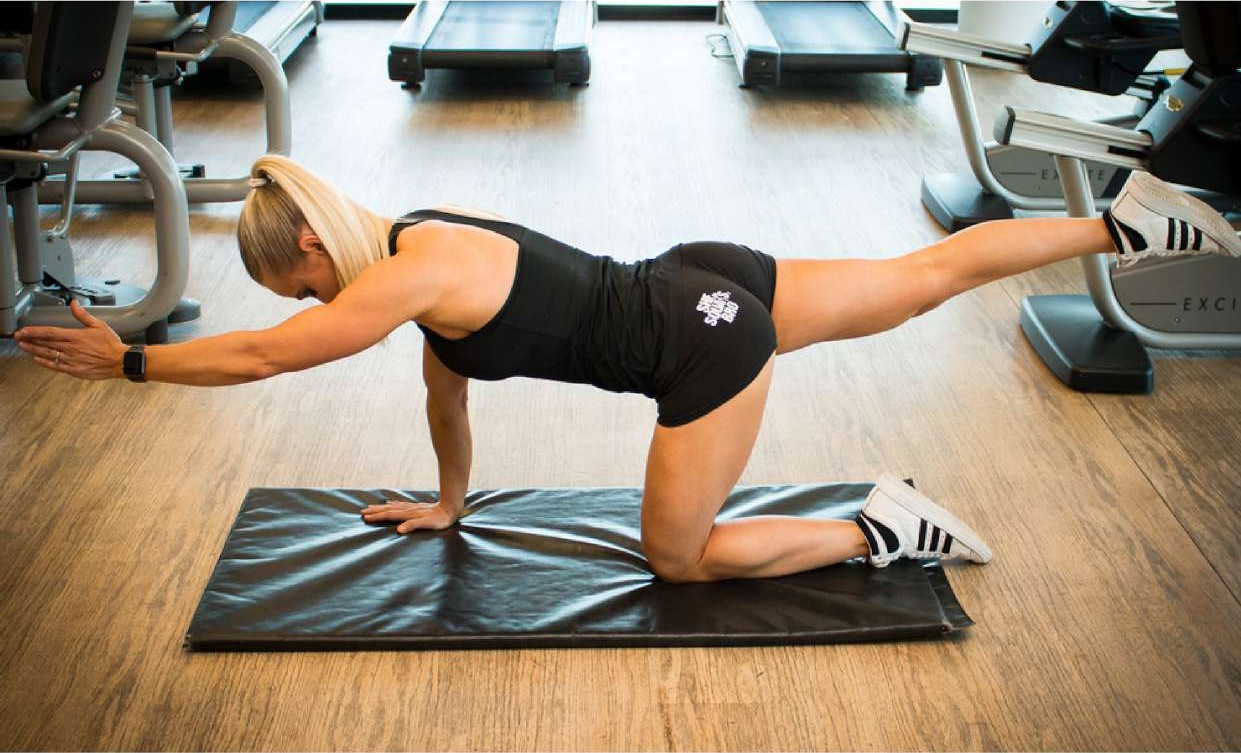
7 Rules Before You Start Back Rehab
1. Get a diagnosis first
If you are carrying an injury, get a correct diagnosis from a health professional before you start, and follow their advice. Nerve pain, a disc injury, facet joint irritation and plain muscle weakness can all feel like “back pain”, but they are not managed the same way.
2. Follow the pain rule
You should be pain-free throughout every exercise. Mild muscle fatigue is fine; sharp, pinching or radiating pain is not. If an exercise hurts, reduce the range, choose an easier version, or stop.
3. Form beats repetitions
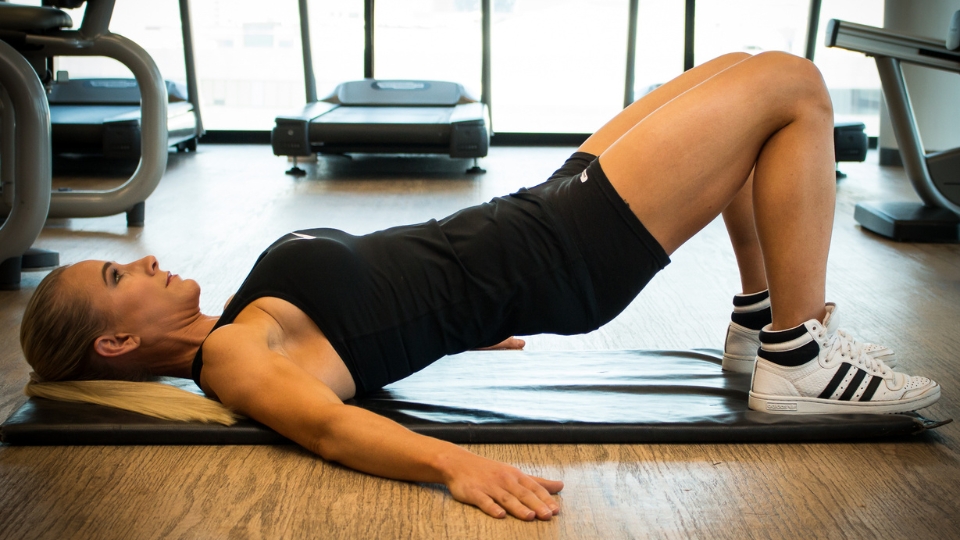
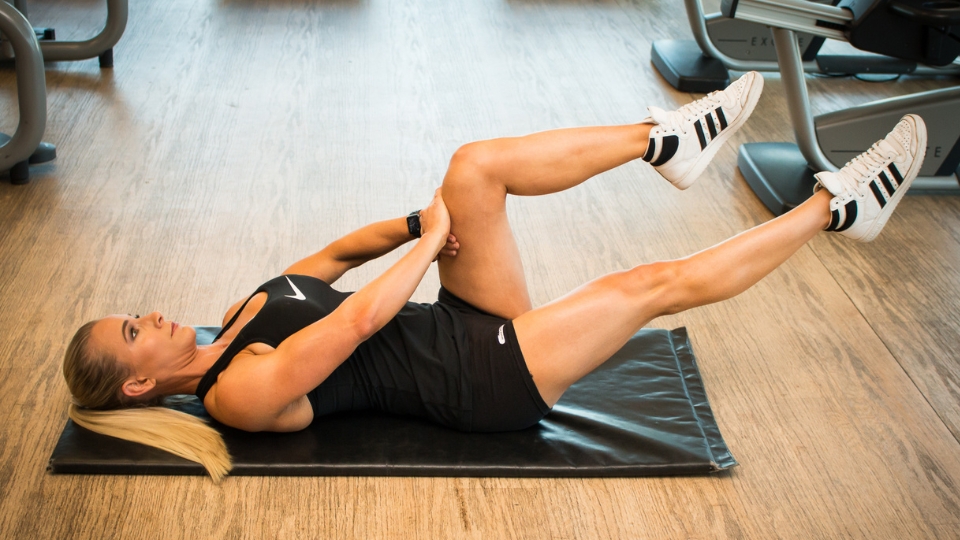
Focus on your form at all times. Take a video or photo of yourself and compare it with the exercise pictures. Ten perfect repetitions will do far more for your back than thirty sloppy ones.
4. Learn your spine positions
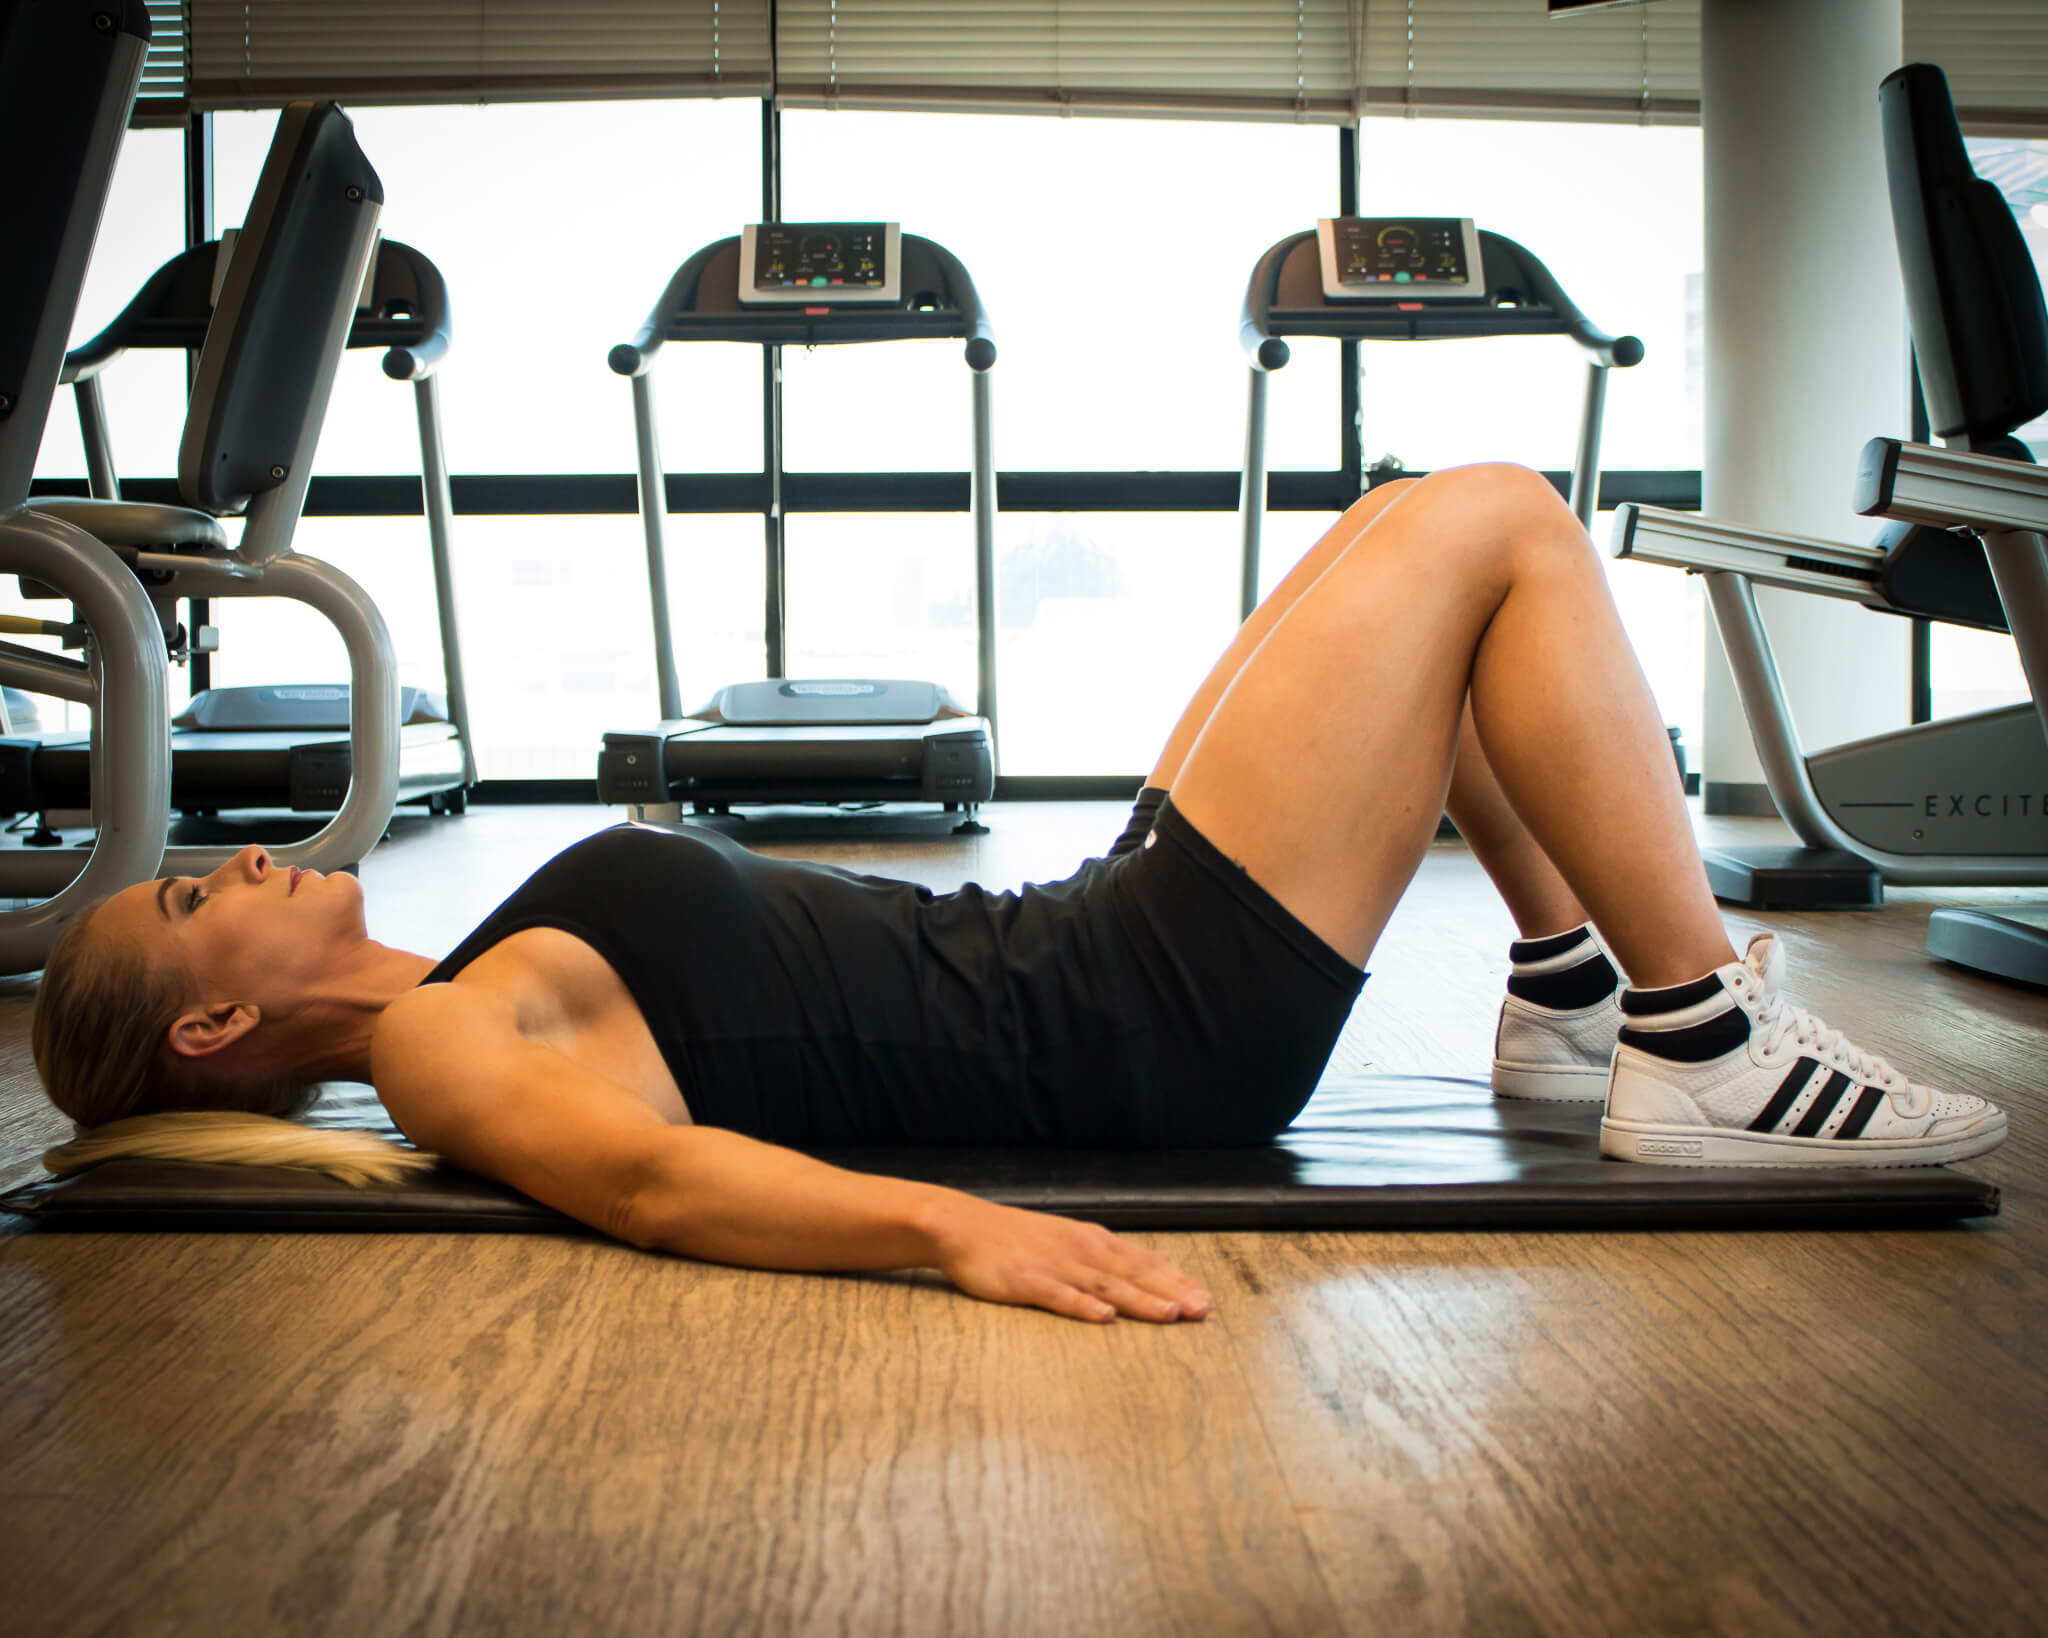
Almost every exercise starts in either a neutral spine or an imprinted spine. Learn the difference in neutral vs imprinted spine before you move on.
5. Engage your core, gently
“Engage the core” doesn’t mean clench your stomach. It means drawing your belly button softly towards your spine to switch on the deep stabilisers that act like a corset around your lower back. Here’s how to activate your deep core.
6. Start at your level
Each exercise in the programme is rated 1 (beginner), 2 (intermediate) or 3 (advanced). Start at level 1, even if you’re fit. Rehab is about control, not ego, and a strong person can still have a poorly controlled spine.
7. Support recovery outside the session
Supplementation and nutrition are as important in healing as the exercises. Make sure you’re eating enough protein, staying hydrated and sleeping well, because that is when your tissues repair.
What Equipment Do You Need?
Very little. Everything in the programme can be done at home with:
- An exercise mat
- A physio (Swiss) ball
- A resistance band
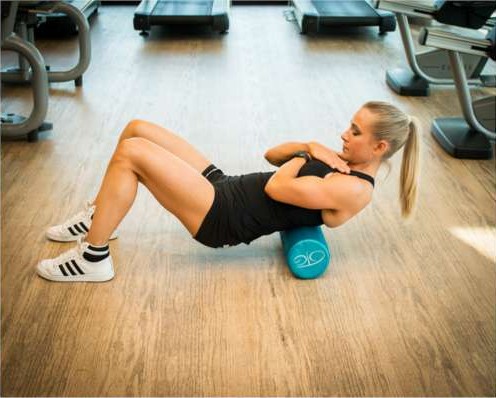
- A foam roller
- A small soft ball, such as a mini tennis ball
No gym required. Read more about home back exercises with minimal equipment.
How the Programme Is Structured
- Stage 1 – Stretching & Mobility: warm up the muscles and joints and restore pain-free range of motion. Try 6 lower back stretches.
- Stage 2 – Muscle Activation: wake up the deep core and stabilisers so they support your spine.
- Stage 3 – Strengthening: build lasting strength around the spine and hips to help reduce the risk of future flare-ups.
You can use the stages on their own (for example, mobility as daily maintenance, or activation as a warm-up before training) or combine exercises from each stage into a full workout.
Ready to start properly? The full Back Rehabilitation guide includes every exercise with photos, step-by-step instructions, difficulty ratings and beginner, intermediate and advanced workout plans.
Disclaimer
Please make sure you get a correct diagnosis from a health professional before starting any of these exercises if you are currently carrying an injury, and stay under their advice throughout your rehab.