Introduction
When you are recovering from a back injury, or trying to ease chronic lower back stiffness, how you position your pelvis changes everything. In rehab training, we don’t just look at whether you are performing an exercise; we look at the exact anatomical alignment of your vertebrae before you even start to move.
Failing to establish a stable pelvic foundation is one of the most common reasons home-rehabilitation programs fail or cause further irritation. This guide focuses strictly on Sarah’s foundational postural definitions: Neutral Spine (NS) and Imprinted Spine (IS). Understanding the exact line between these two structural states acts as an essential “safety switch” for your recovery journey.
This framework is a core component of the comprehensive 3-Stage Guide to Back Rehabilitation. To see where these setups fit into your broader recovery phases, make sure to review the main hub guide.
What is a Neutral Spine (NS)?
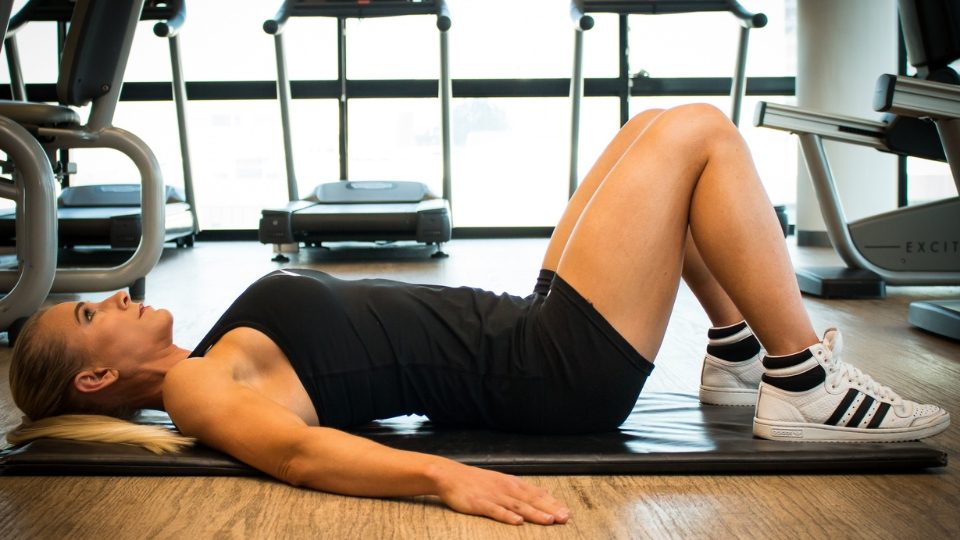
A Neutral Spine (NS) is defined as the spine’s natural, anatomically standard state. When your spine is neutral, it retains its natural three curves: an inward curve at the neck (cervical), an outward curve at the upper back (thoracic), and an inward curve at the lower back (lumbar).
How to Find Your Neutral Spine:
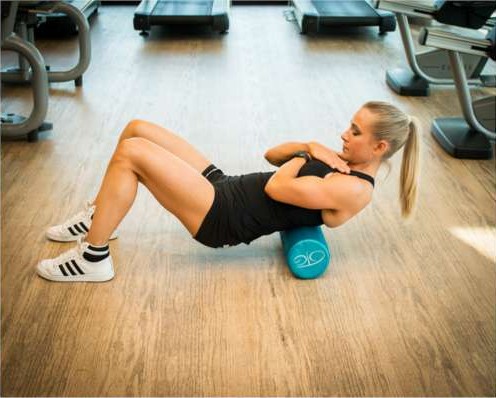
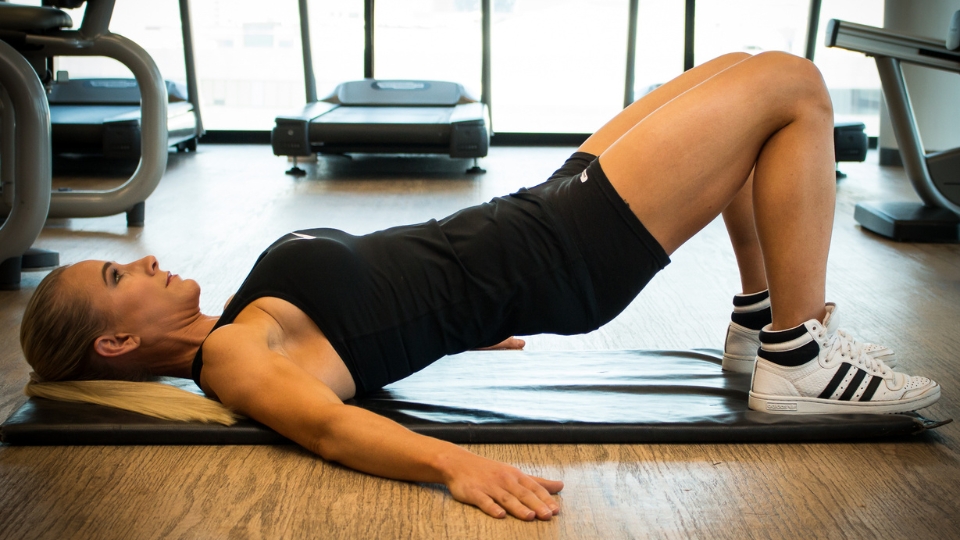
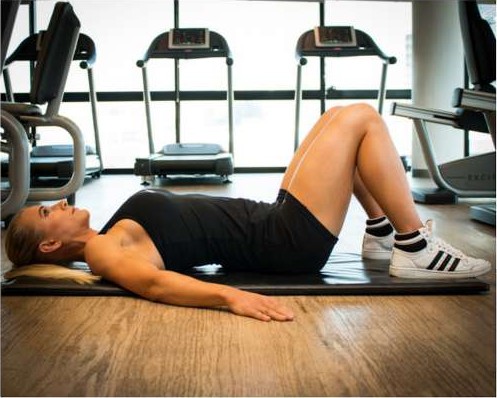
- Lie flat on your back on a firm surface or exercise mat with your knees bent and feet flat on the floor (hip-width apart).
- Relax your shoulders and neck.
- Observe the natural space between your lower back and the floor. In a true Neutral Spine, there should be enough room for a small sliver of air or light—your lower back is not mashed flat against the ground, nor is it excessively arched. Your hip bones and pubic bone should lie completely flat on a horizontal plane parallel to the floor.
What is an Imprinted Spine (IS)?
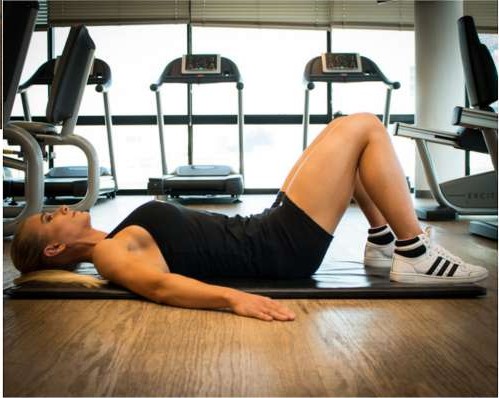
An Imprinted Spine (IS) is a deliberate, controlled alteration of your pelvic tilt. It involves slightly flattening the lumbar spine by gently tucking your tailbone.
How to Find Your Imprinted Spine:
- Start in the same supine position (lying on your back, knees bent, feet flat).
- Take a deep breath into your ribs.
- As you exhale, pull your belly button to your spine, using your deep lower abdominal muscles to tilt your pelvis slightly backward.
- Your lower back will gently make contact with the floor, removing the natural air gap.
Crucial Important Note: Do not use your glutes (buttock muscles) or hamstrings to aggressively force or jam your back into the floor. The movement must be subtle, controlled, and driven exclusively by your deep abdominal core wall.
Why the Difference is Your Core “Safety Switch”
Think of your pelvic position as a toggle switch that determines which muscles take the strain.
- When to use Neutral Spine: You utilize a Neutral Spine during closed-chain exercises where your feet remain anchored firmly to the ground or when performing everyday functional structural movements like lifting, squatting, or standing. Because it is the spine’s strongest state, it is uniquely built to safely absorb shocks and handle gravity.
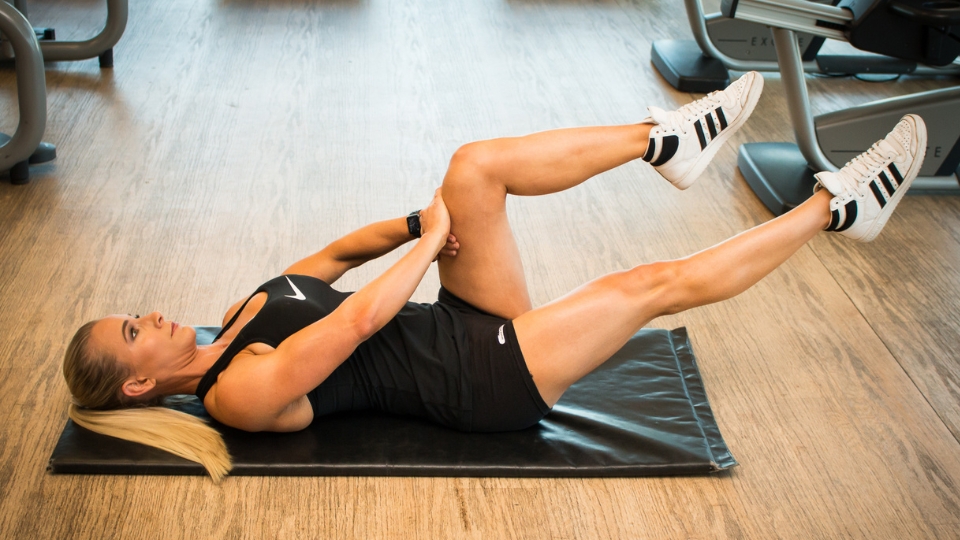
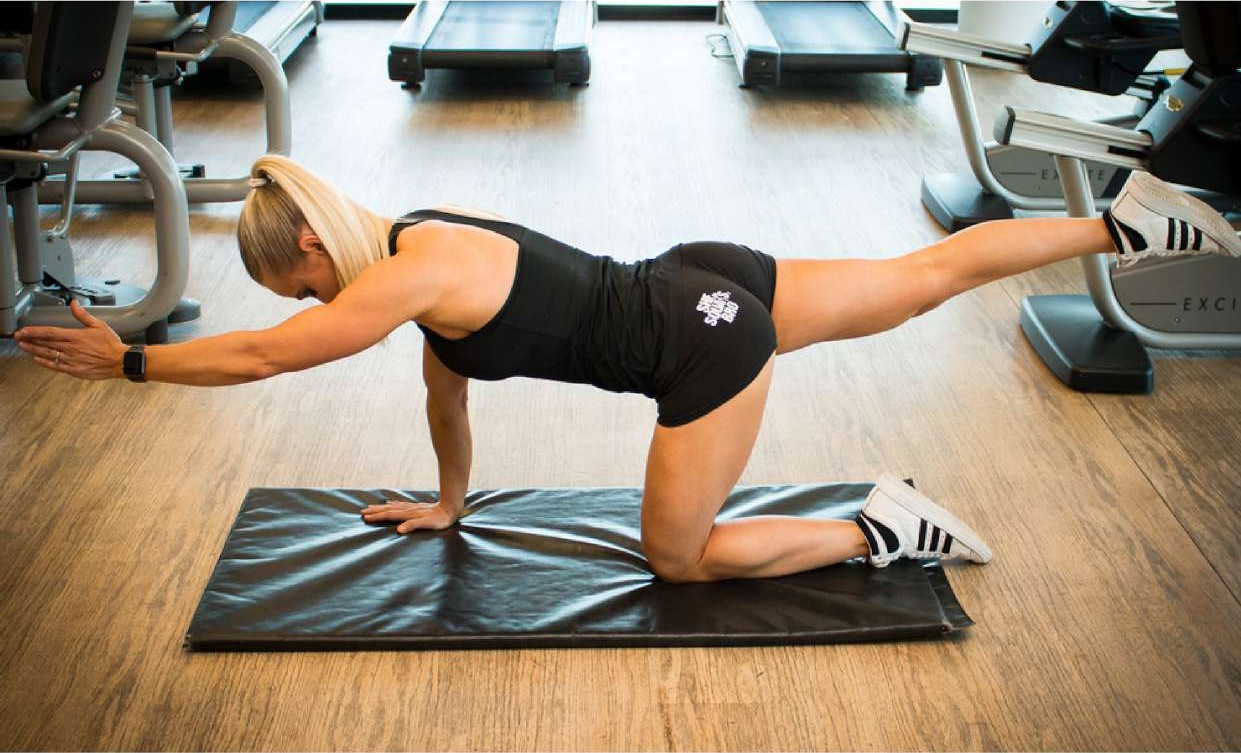
- When to use Imprinted Spine: You switch to an Imprinted Spine when your feet leave the floor (known as open-chain movements, such as a dead-bug leg extension or straight-leg raises). When your legs are suspended in the air, gravity pulls heavily on your limbs, which naturally coaxes your lower back to hyper-arch. Imprinting forces your core to lock down, preventing your lower back from lifting off the mat and safeguarding your discs from dangerous hyper-extension forces.
If you attempt open-chain leg movements without switching on your “imprint safety switch,” your hip flexors will pull hard against your lumbar vertebrae, potentially triggering discogenic or nerve irritation.
The Golden Rule of Spine Rehab: The Pain Rule
As you practice toggling between a Neutral and Imprinted Spine, you must closely observe your body’s biofeedback. While muscle fatigue, deep core warmth, and minor discomfort are normal responses to waking up dormant core muscles, at no time should you experience sharp, radiating, or pinpoint pain. If finding an imprint or holding a neutral spine causes pain, stop immediately and return to a restful state. To check your alignment is correct, it is highly recommended to use a mirror or record a brief video of yourself on your smartphone to compare your pelvic angle against professional reference models.
Conclusion
Mastering the subtle control of your pelvis is the secret boundary line separating safe rehab exercises from injury flare-ups. Once your mind-muscle connection can easily distinguish and execute both positions, you are ready to apply them to progressive physical training.
Related reading: Put these spine positions to work with the “corset” deep core activation exercises, and ease stiffness beforehand with our guide to stretching and mobility for back pain.
Ready to advance your recovery safely? Don’t guess with your posture. Learn exactly how to apply these precise positions across our full Level 1-3 exercise library, featuring step-by-step imagery and comprehensive physical guides designed by Sarah from over 17 years of coaching experience.
Disclaimer
Please ensure that prior to starting any of these exercises you obtain a correct diagnosis from a health professional if you are currently carrying an injury, and that you remain under the advisement of your health professional.